Scheduled Maintenance
System Overview
The Scheduled Maintenance module in ALEF 360° CAFM | CMMS automates the creation of recurring work orders for planned and preventive tasks. Instead of manually raising identical work orders every day, week, or month, you configure a Scheduled Maintenance (SM) plan once and the system automatically generates work orders based on your configured frequencies.
Navigation Path:Sidebar → Work Orders → Scheduled Maintenance
Supported Frequencies
Key Benefits
Module Guide
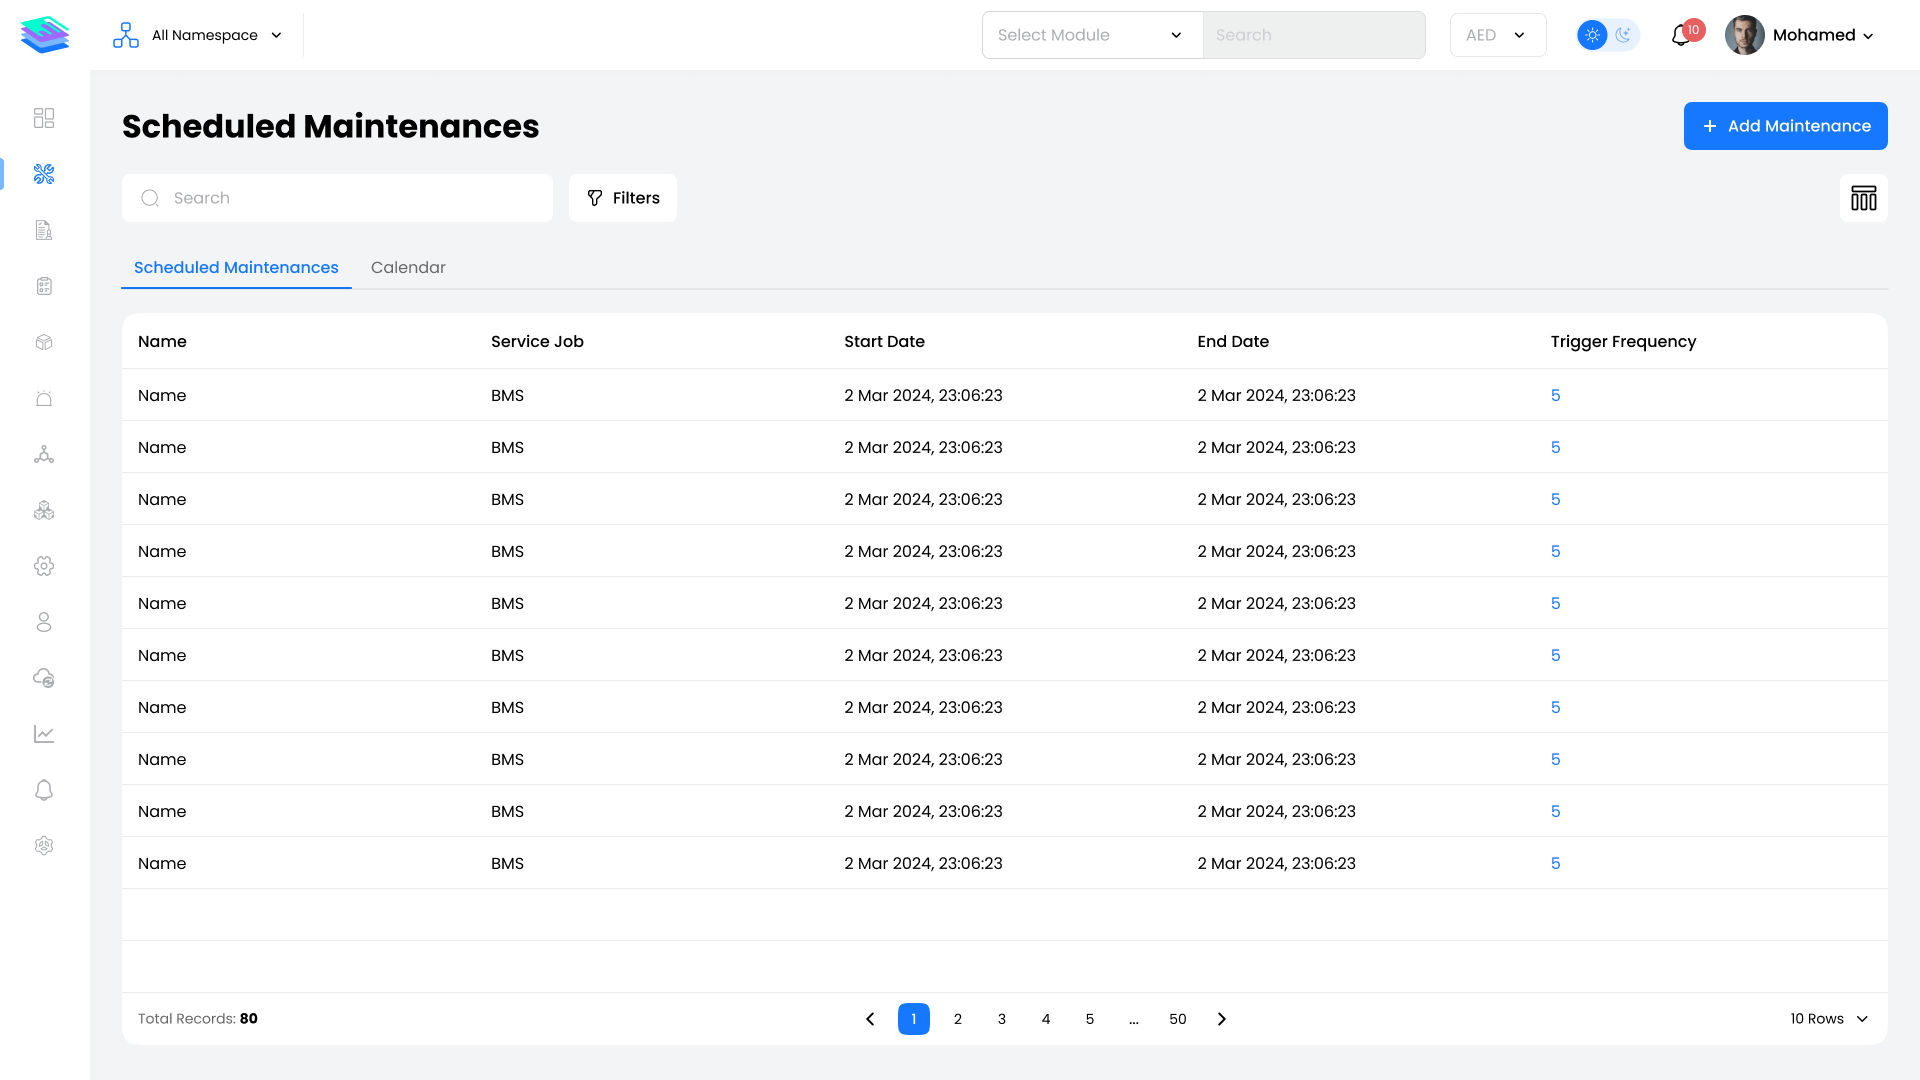
View, filter, and manage SM plans. Edit, copy, delete plans, and use Last Service Update.
Manage SM Plans →Explore plan details, recurrence settings, assets, checklists, users, work orders, and analytics.
View SM Profile →Step-by-step guide to creating a new Scheduled Maintenance plan using the 6-step wizard.
Create SM Plan →Asset-centric calendar view for visualizing preventive maintenance across your portfolio.
View PPM Planner →Quick Start Guide
Use the steps below as a high-level onboarding checklist when setting up a new Scheduled Maintenance plan.
1. Open Scheduled Maintenance
- Navigate to: Sidebar → Work Orders → Scheduled Maintenance
- Review the Scheduled Maintenance tab (table view) or Calendar tab as needed
2. Create a New SM Plan
- Click + Add Maintenance at the top-right of the Scheduled Maintenance list
- The system opens a multi-step wizard
3. Step 1 – SM Details (Main Details)
| Field | Description |
|---|---|
| Namespace | Select the namespace/organizational unit for this plan |
| Name | Enter a clear, descriptive plan name (e.g., "Monthly AHU PM – Tower A") |
| Work Order Category | Choose Scheduled Maintenance or Inspection |
| Description | Briefly explain the maintenance purpose |
Customer Contract Details:
- Customer Contract – select the relevant contract
- Customer – auto-populated when the contract is selected
- Customer SLA – select an SLA if applicable
- Customer SLA Priority per Frequency – for each frequency, select the SLA priority
Asset & Service Details:
- Select Facility/Equipment – choose the asset(s) that this plan will maintain
- Service Group / Service Type / Job Type – specify the service matrix
Subcontractor Contract Details (optional):
- Configure subcontractor linkage and SLA priorities per frequency if required
Click Next.
4. Step 2 – Configurations (Schedule Period & Frequencies)
| Field | Description |
|---|---|
| Start | Date when automatic work order generation begins |
| End | Date when generation stops (leave blank if open-ended) |
| Time Zone | Select the operational time zone for the asset(s) |
| Starting Time | Default time of day for generated work orders |
| Tolerance Days | Maximum allowed offset for creating work orders around the planned date |
| Due Days | Choose Based on Lowest Frequency or Custom |
Maintenance Schedule (Frequencies & First Dates):
- For each frequency you want to use (e.g., Monthly):
- Tick the frequency
- Set First Occurrence On (first trigger date)
- Set Due Days (how many days the WO can remain open before breaching)
- Optionally mark Suppress Lower if this frequency should override lower frequencies on conflicting dates
- Click Add Frequency to configure multiple intervals
Click Next.
5. Step 3 – Distribute Setup
| Setting | Description |
|---|---|
| Create Separate Work Order per Asset | Toggle ON to generate one WO per asset, or OFF to group all assets under a single WO |
| Grouping Dimension | Define how assets should be grouped (e.g., by facility, floor, or class) |
- Review the Assets table and adjust Start Date per asset if needed
Click Next.
6. Step 4 – Work Order Configurations
| Setting | Description |
|---|---|
| Enable Geolocation Check | Require technicians to be at the physical location (via mobile GPS) before starting the WO |
| Requires Client Sign-off | Require a client signature on completion |
| Scan Asset before Work Order Starts | Enforce QR code scanning of the asset before starting work |
| Maximum Allowed Days | Optional limit for WO duration |
Estimation:
- Labour Hours – estimated hours per WO
- Labour Cost – estimated labour cost per WO
- Inventory Cost – estimated parts/material cost per WO
Click Next.
7. Step 5 – Checklists
| Type | Description |
|---|---|
| Pre Checklists | Add pre-start checklists (e.g., safety pre-checks). These can block WO start until completed |
| Checklists | Add maintenance task checklists mapped to frequencies (e.g., monthly vs. quarterly tasks) |
Click Next.
8. Step 6 – Assign Users
- Under Personnel and Subcontractor Personnel, select the technicians/teams who will receive generated WOs
- Use filters to search by name, role, or training if needed
- Click Finish to save the SM plan
9. Verify Generated Work Orders
- After saving, monitor the Work Orders tab inside the SM profile and/or the Calendar view to confirm that work orders are being generated according to the configured schedule
For detailed step-by-step instructions, see Create SM Plan.
Persona Use Cases
Maintenance Planner / PPM Engineer
- Designs and maintains all Scheduled Maintenance plans
- Uses the list, calendar, and Analysis tabs to balance workload and frequency across sites
- Relies on Last Service Update to keep preventive schedules realistic
Facility Manager / Contract Manager
- Ensures contract and SLA obligations are met
- Reviews SM coverage per contract, checks if all critical assets have active plans
- Monitors SLA priorities per frequency
Helpdesk / Dispatch Agent
- Coordinates generated WOs with the Dispatch Console
- Uses the Work Orders tab to understand upcoming preventive workload
- Plans technician capacity based on scheduled work
Technician / Team Lead
- Receives standardized preventive WOs generated from SM plans
- Uses checklists to execute tasks consistently
- Records completion data that feeds back into Last Service Update
Asset Manager / HSE Officer
- Verifies that safety-critical and regulatory inspections have valid SM plans
- Uses Analysis and Work Orders tabs to prove compliance with inspection frequencies
Key Notes
Configuration & Data Quality
- Accurate selection of Service Group, Service Type, Job Type, and Assets is essential for meaningful preventive maintenance and reporting
- SLA priorities should be mapped carefully for each frequency to ensure generated WOs carry the correct urgency
Frequencies & Suppression
- Use suppression logic when multiple triggers overlap to prevent duplicate work orders (e.g., Yearly suppressing Monthly on the same date)
- Tolerance and Due Days help model real-world flexibility without breaking SLA rules
Per-Asset vs Grouped Work Orders
- Per-asset WOs are recommended for high-value or critical assets where traceability is important
- Grouped WOs can reduce administrative load for large numbers of similar low-risk assets
Checklists & Safety
- Pre-checklists are critical for safety-sensitive tasks; they can prevent technicians from starting work before validating safety conditions
- Ensure maintenance checklists are aligned with OEM manuals and regulatory requirements
Editing & History
- Editing SM plans affects future scheduling; historical completed WOs stay unchanged
- Always review the Work Orders tab after major changes to confirm that future WOs are generated as expected
Deletion Risk
- Deleting an SM plan can remove its related WOs permanently
- Use deletion only after confirming that the plan is obsolete and historical records have been exported or archived if needed
Best Practices
- Start with a pilot plan on a small set of assets, validate behaviours, then scale to larger portfolios
- Combine Scheduled Maintenance with the Dispatch Console and Work Orders module to create a fully closed preventive maintenance loop